Final Part 2 - The Otamatrone 4093
The DIY Otamatone has become it's own entity - the Otamatrone 4093.
Design Changes
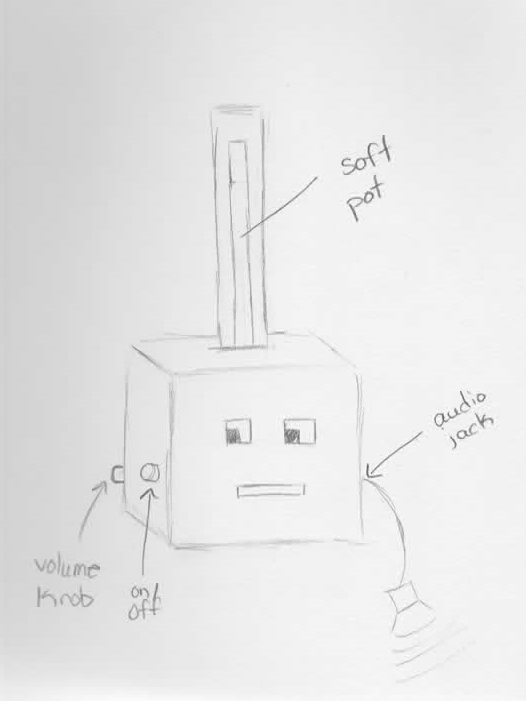
The biggest design change is the aesthics and enclosure - I couldn't find a rubber ball that suited this project, so I pivoted to making a square cardboard enclosure for the body.
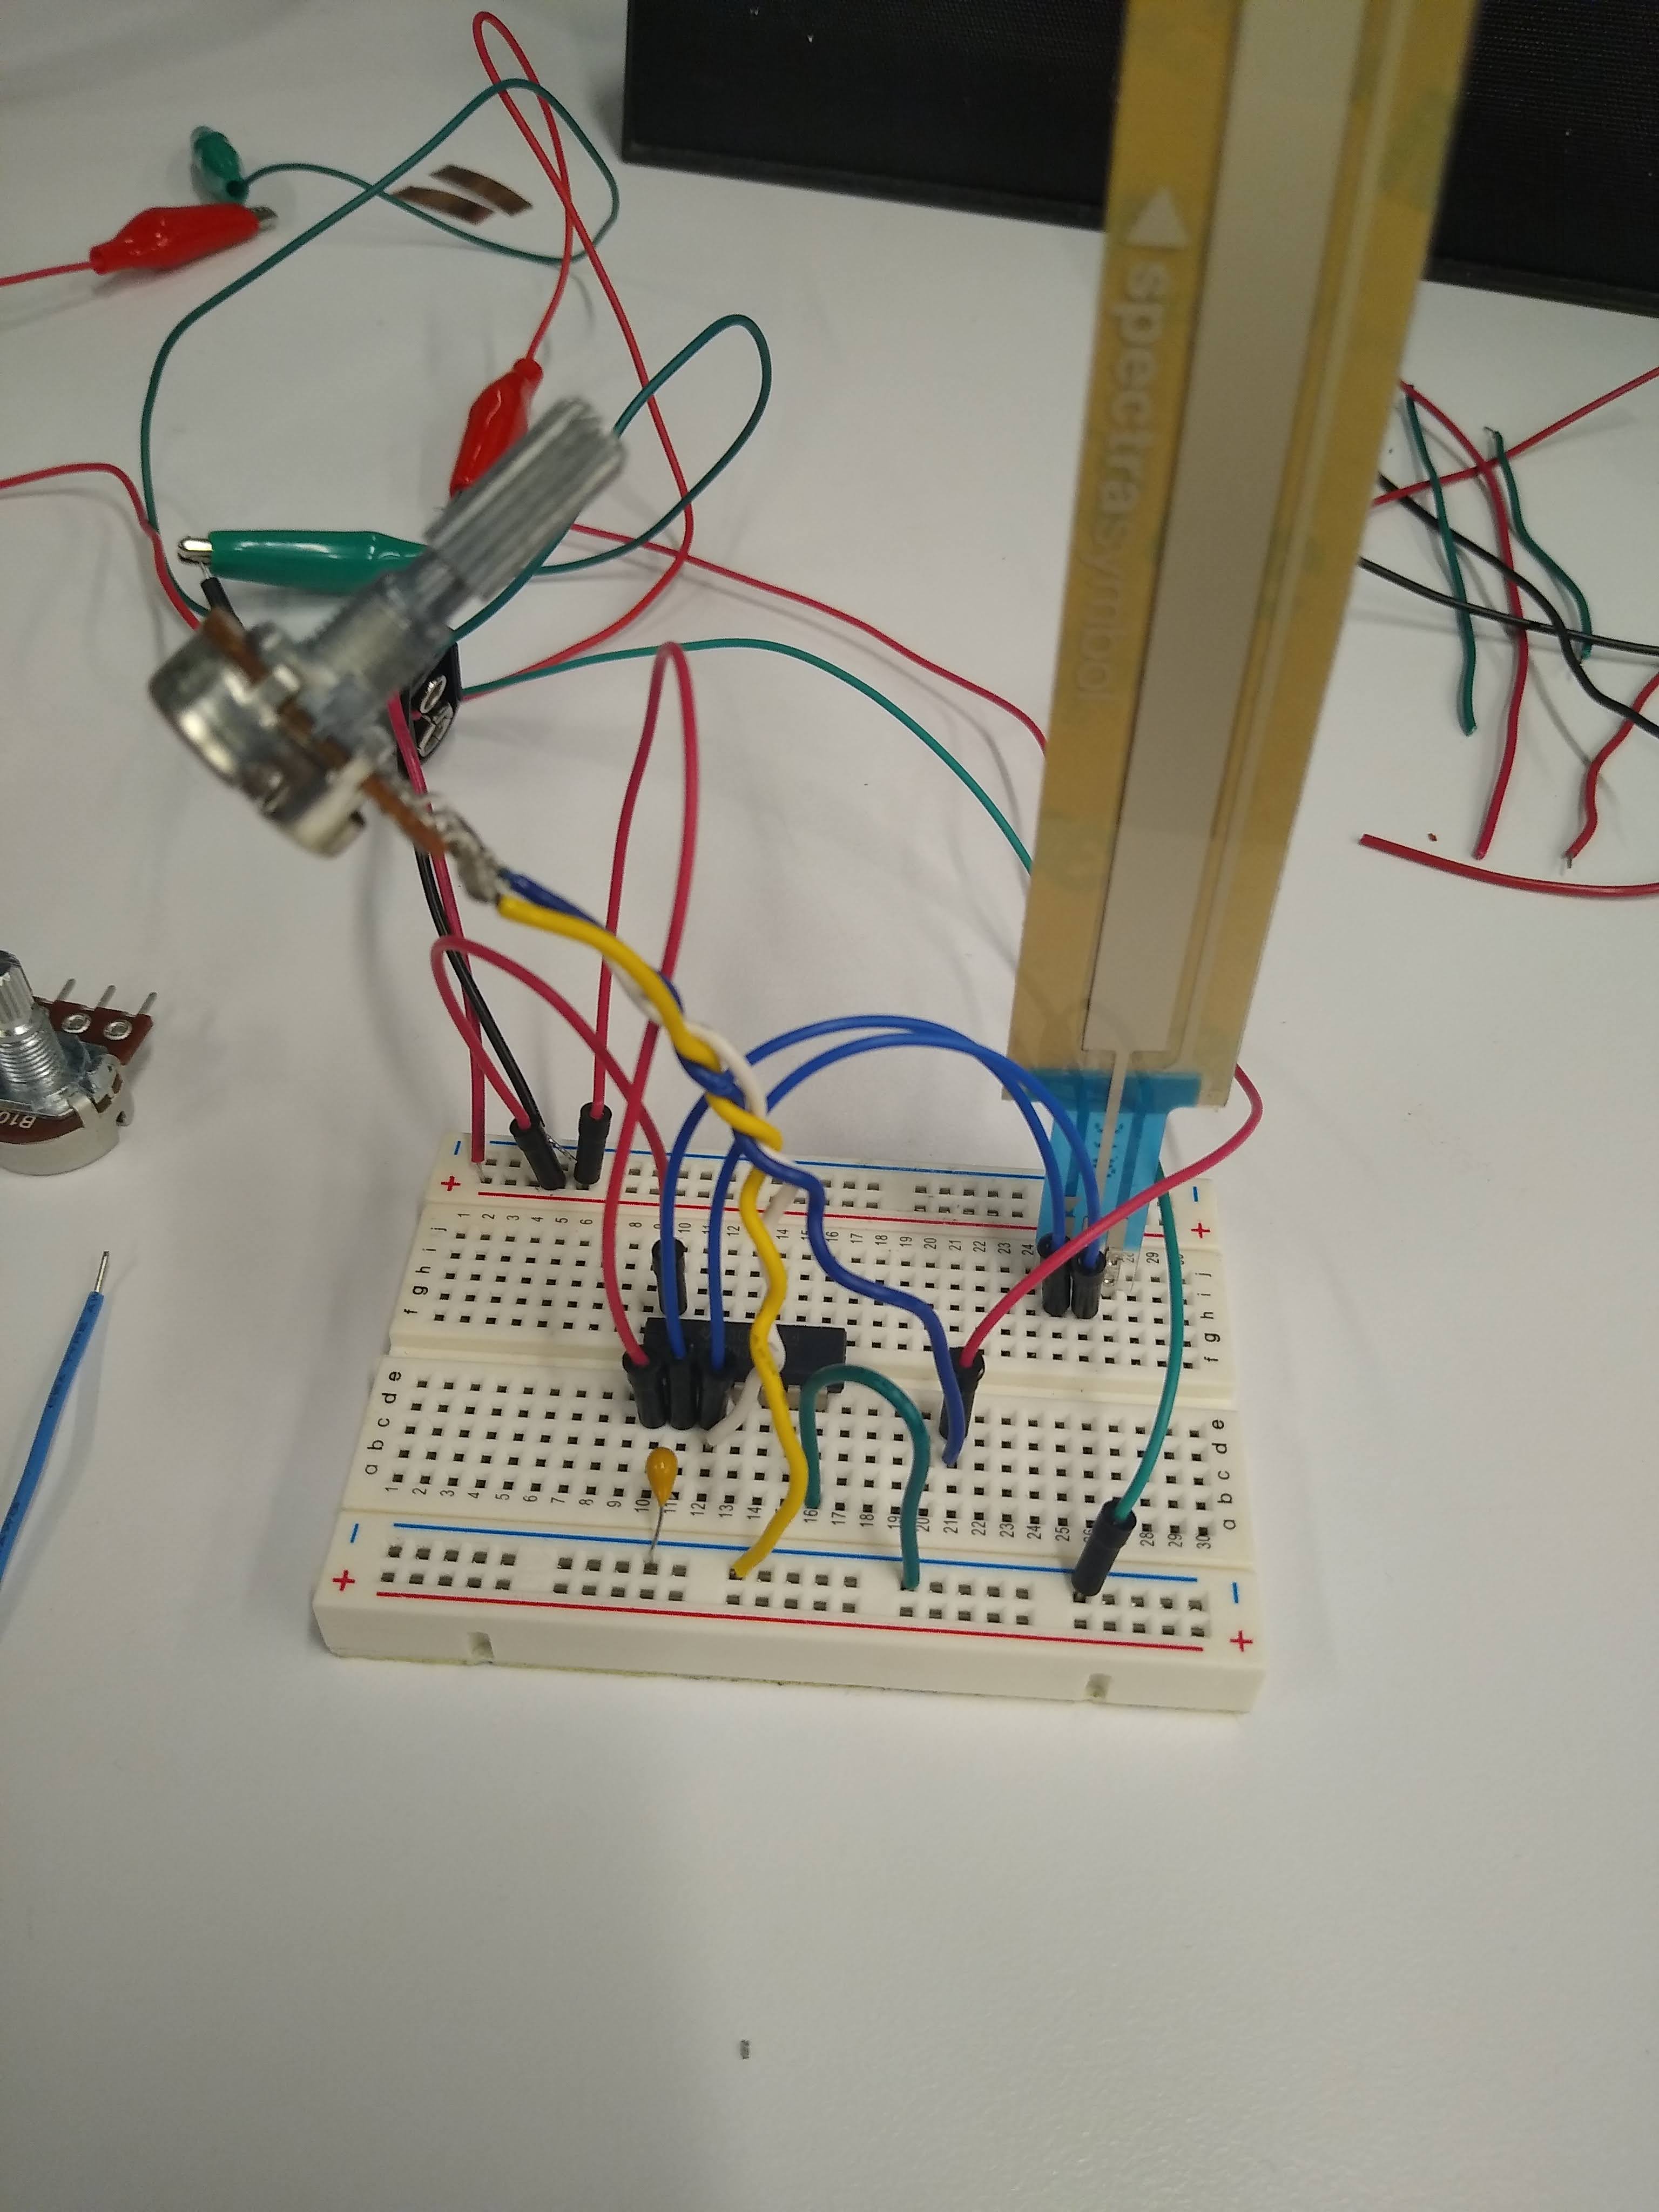
I removed the button that would make the otamatone "talk," after breadboarding it and seeing that the soft pot itself completed the circuit and it wasn't making noises continuously.
I also added a switch to turn the whole machine on and off.
Lasercutting and soldering

I used the Epilog Mini lasercutter to make the body and handle. I made the handle by gluing two cardboard pieces together and sticking the soft pot between them. The AI files can be found here.

I soldered the pieces together. It all went perfectly according to plan, as it always does (/sarcasm).
Issues
Unfortunately, the switch doesn't actually work - I suspect it's because of faulty soldering, but it could also be a wiring issue.
If I were to do this again, I'd use a 9V battery holder for the next iteration.
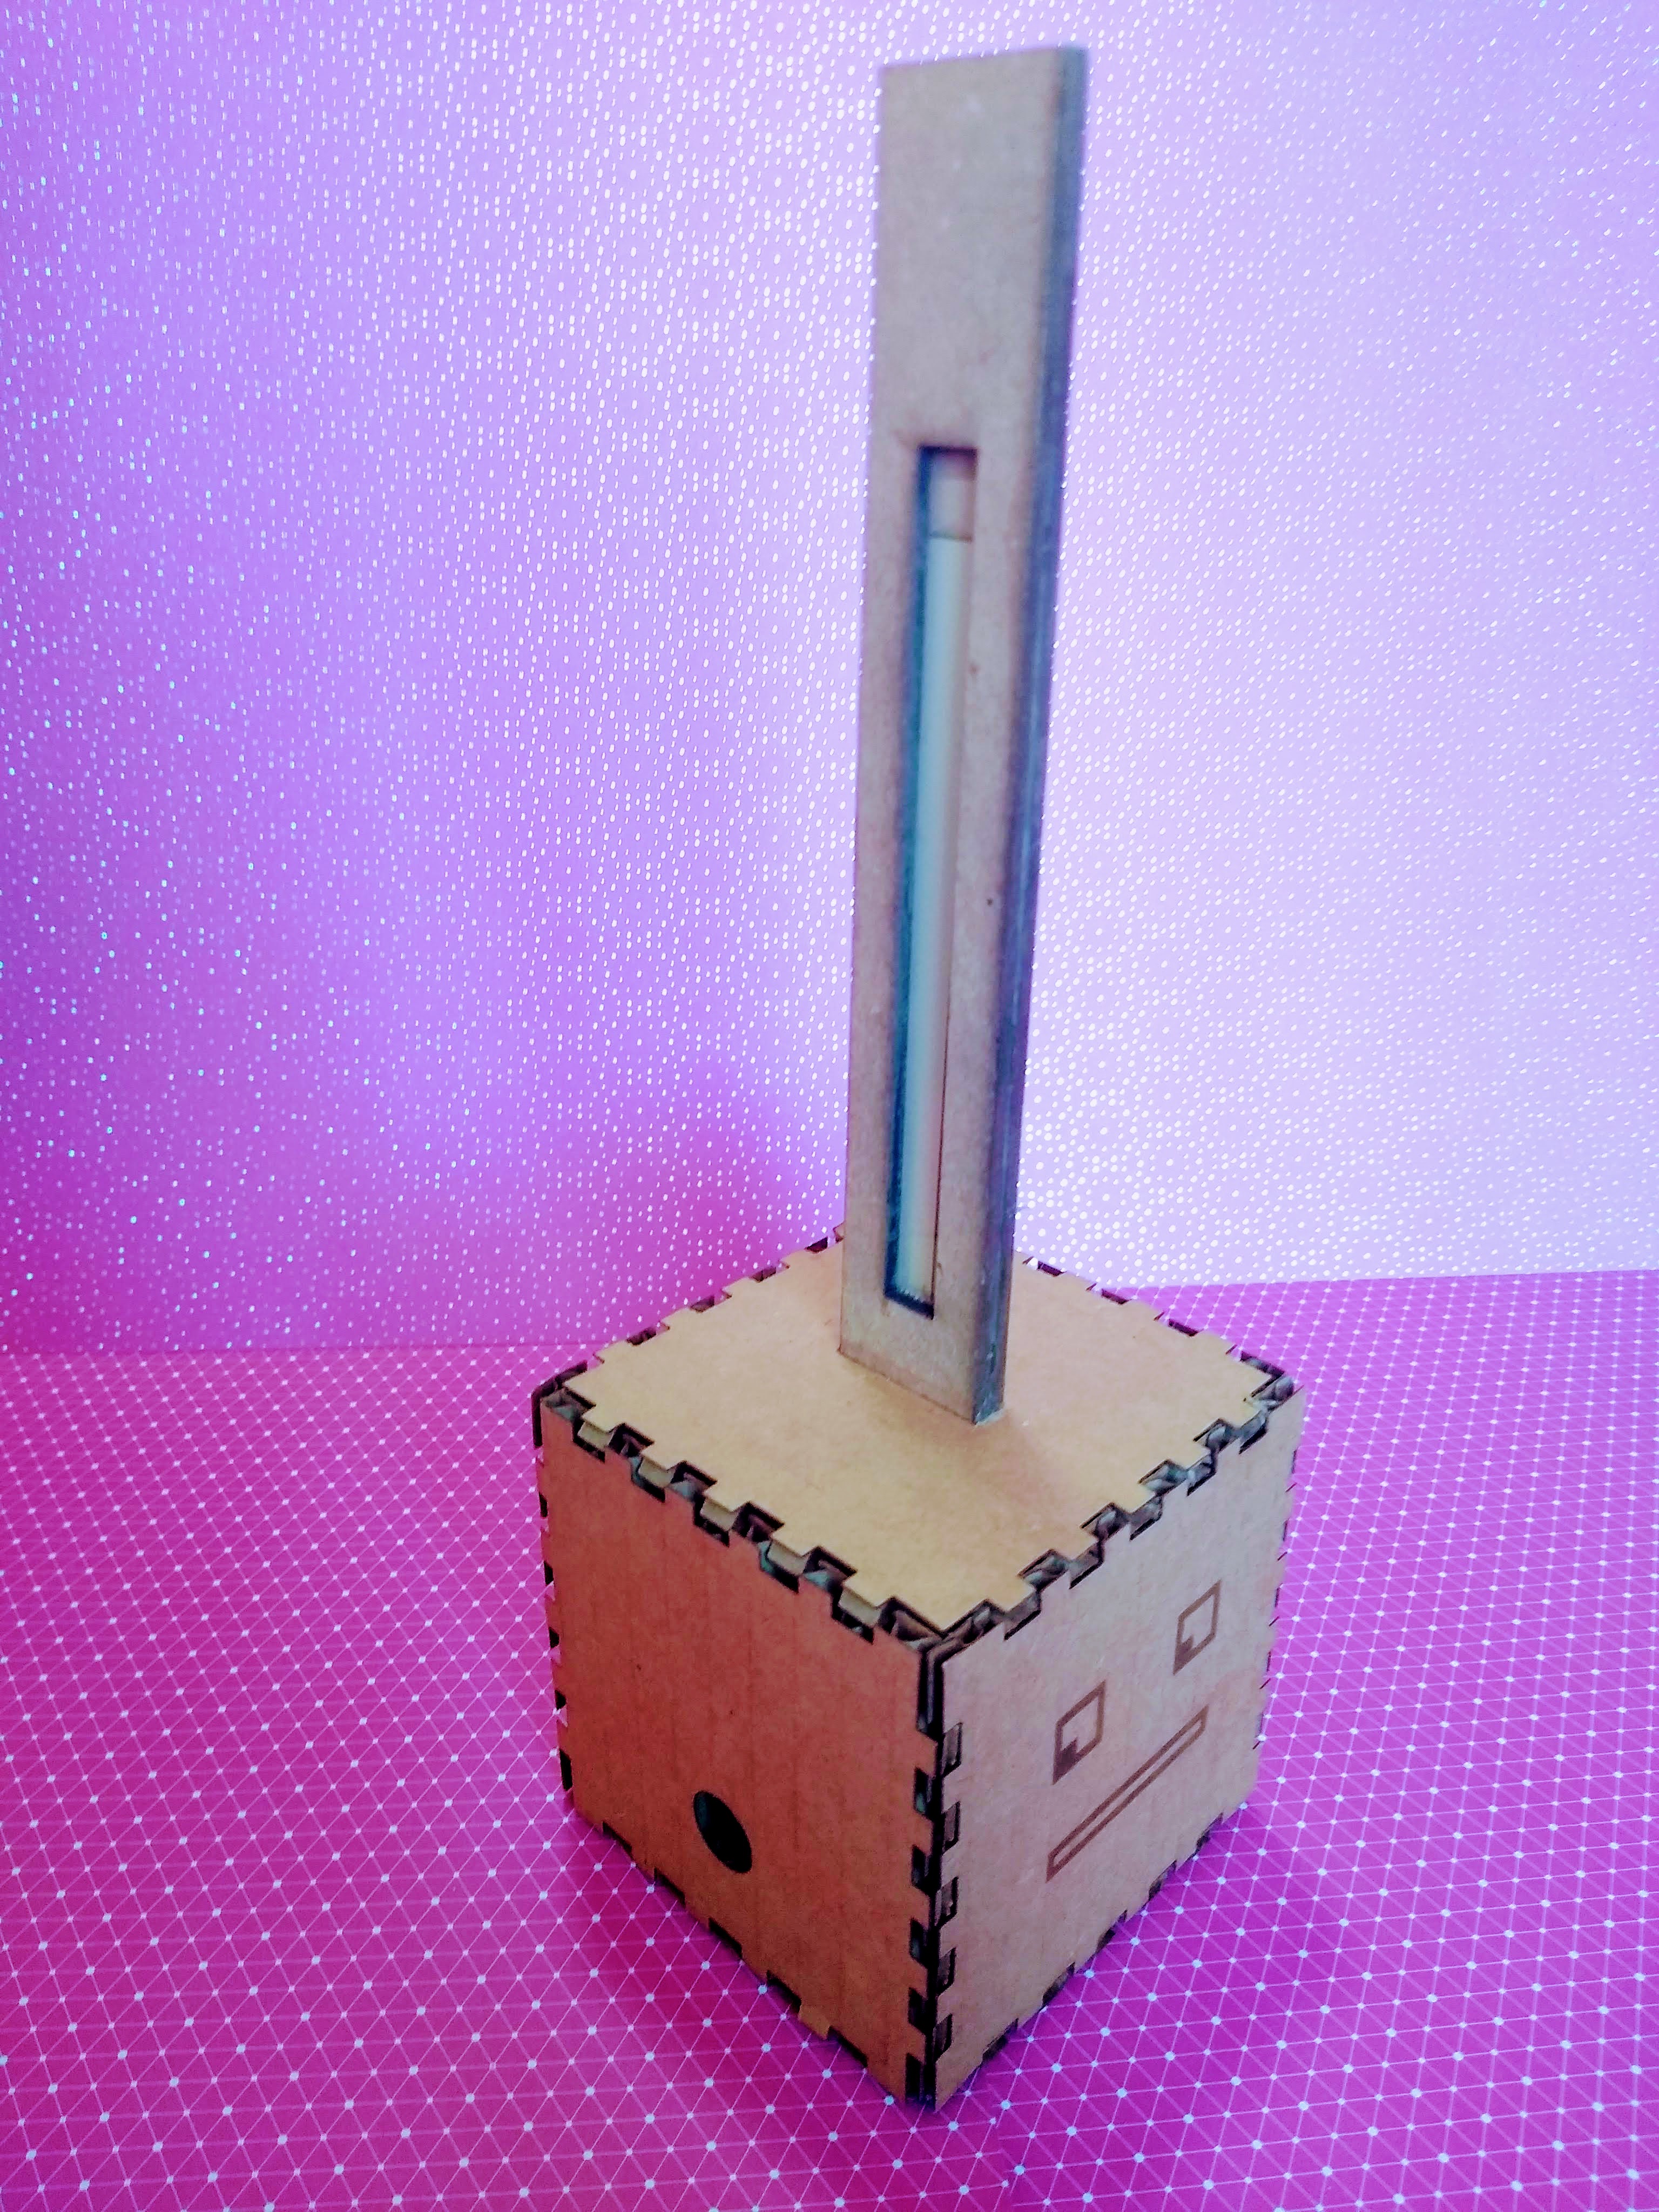
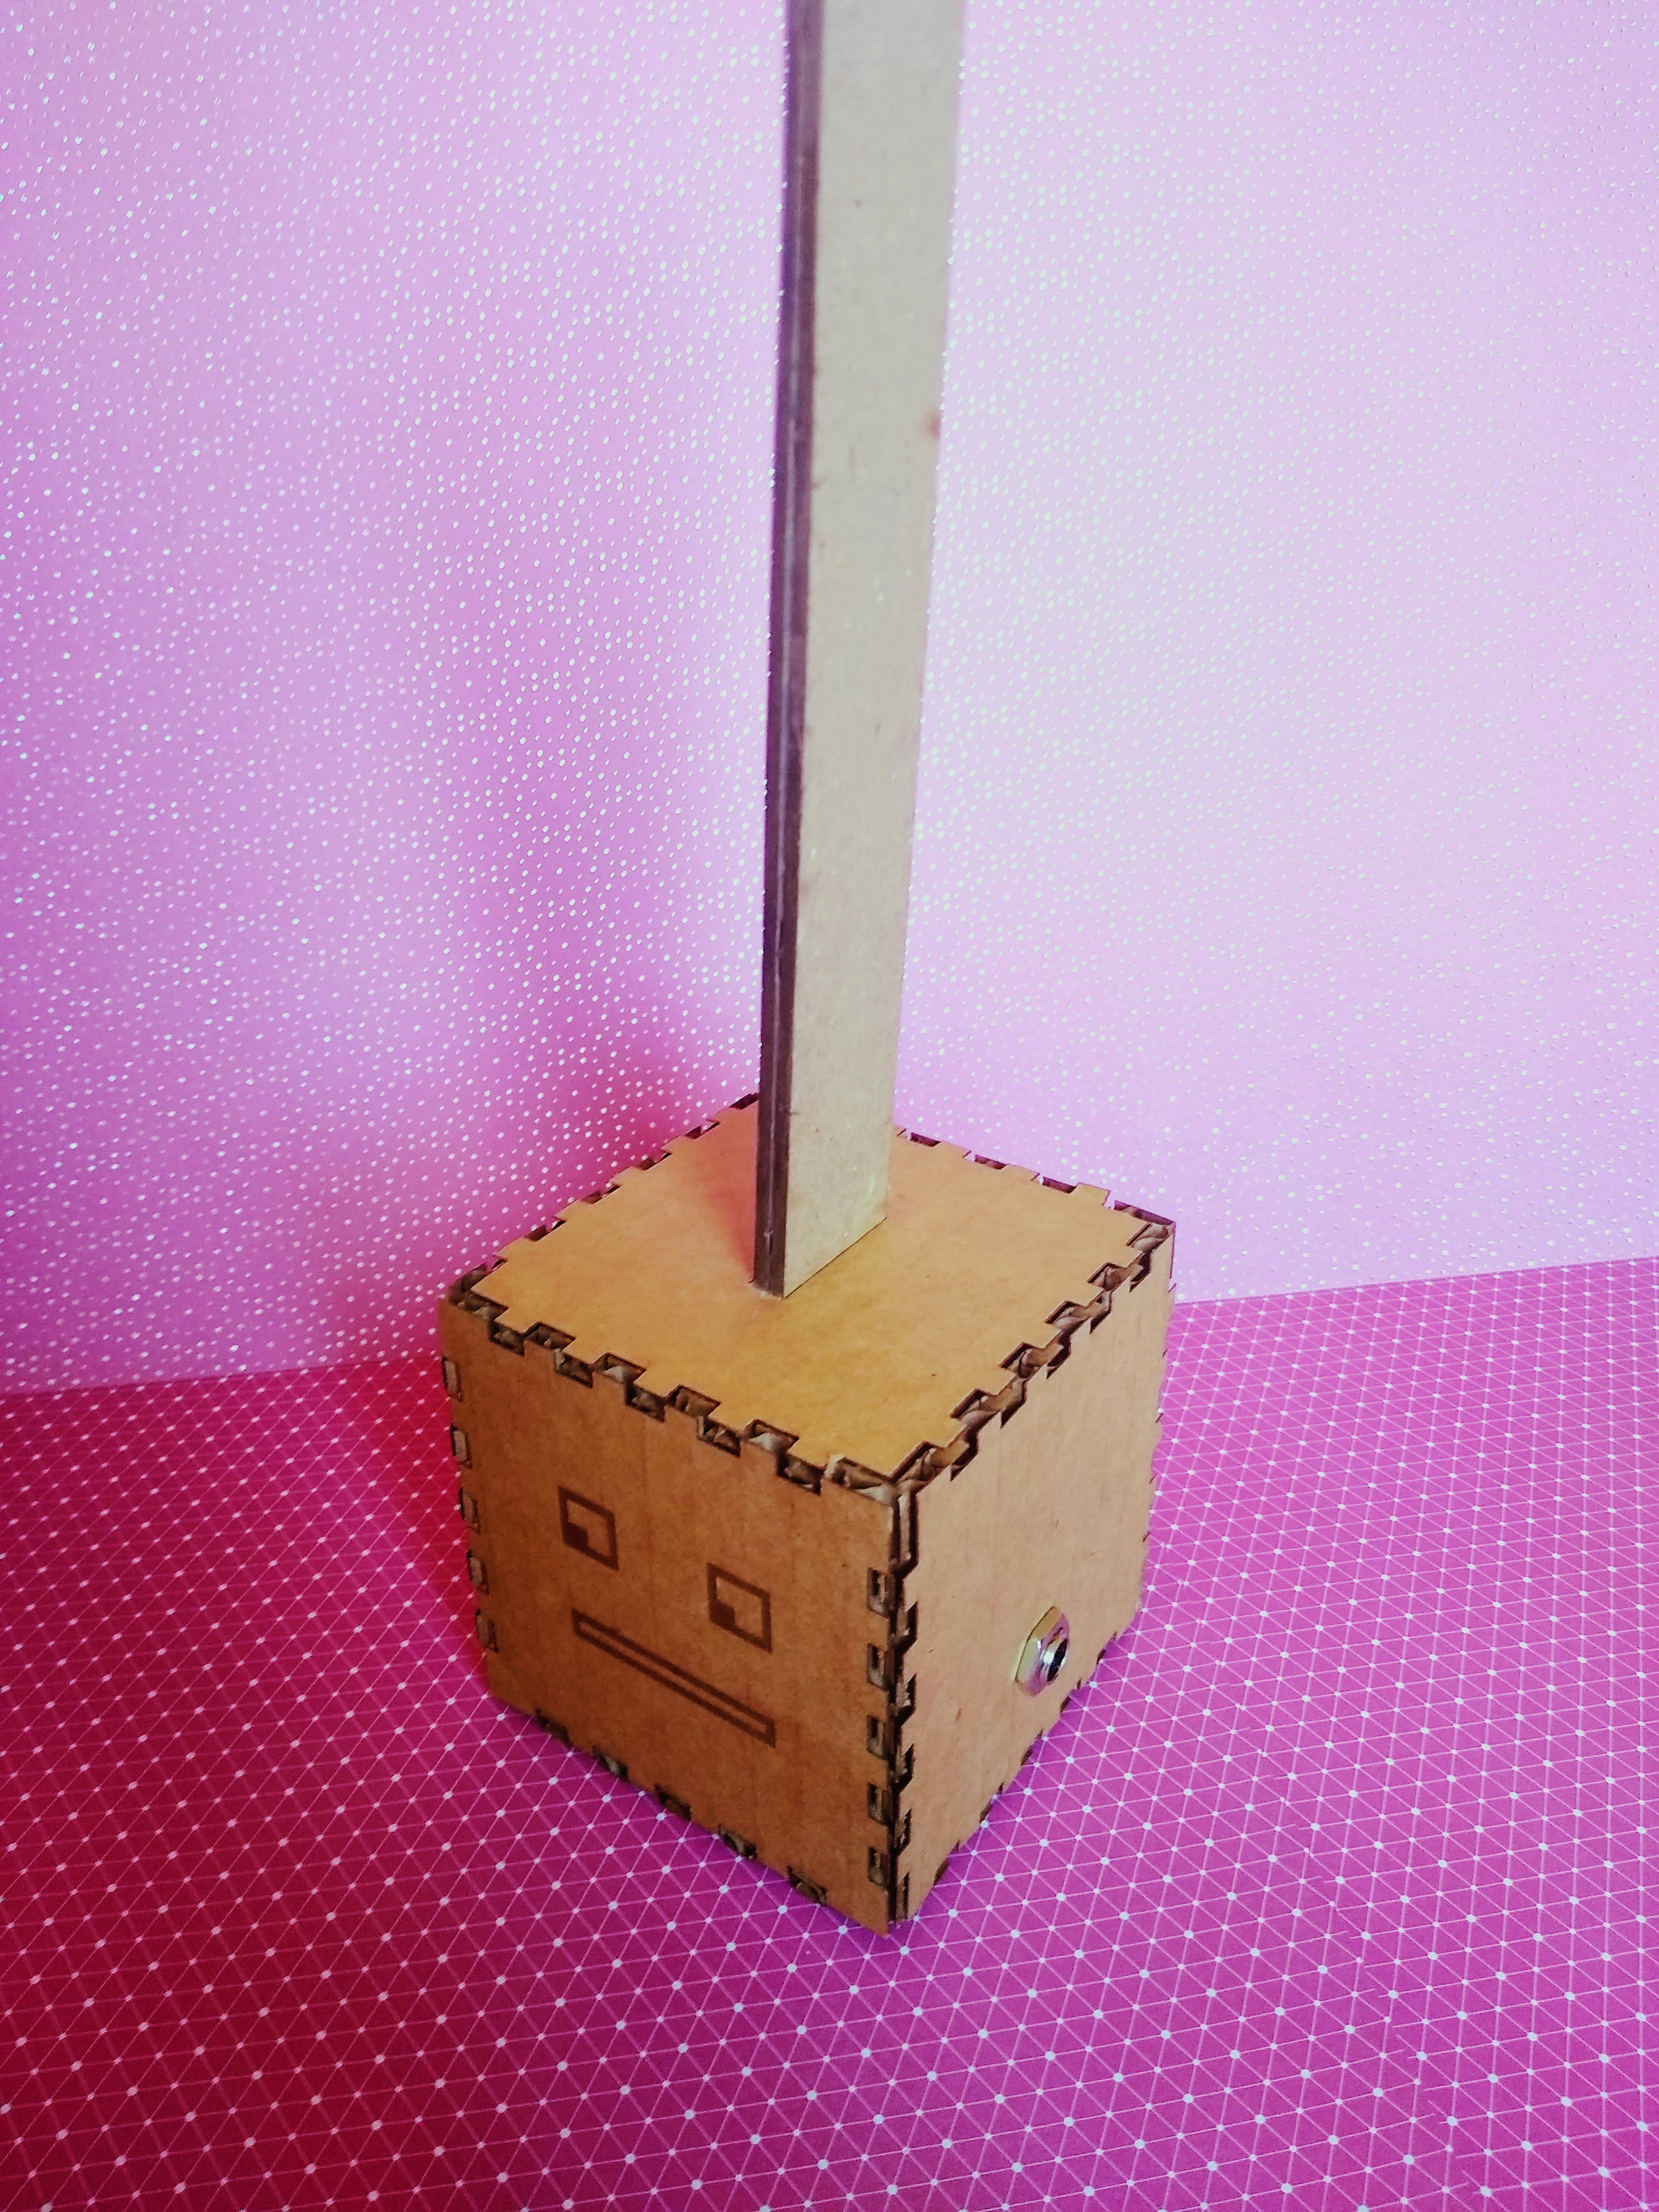
Final Design
It looks so snazzy!
Demo
Stay tuned!